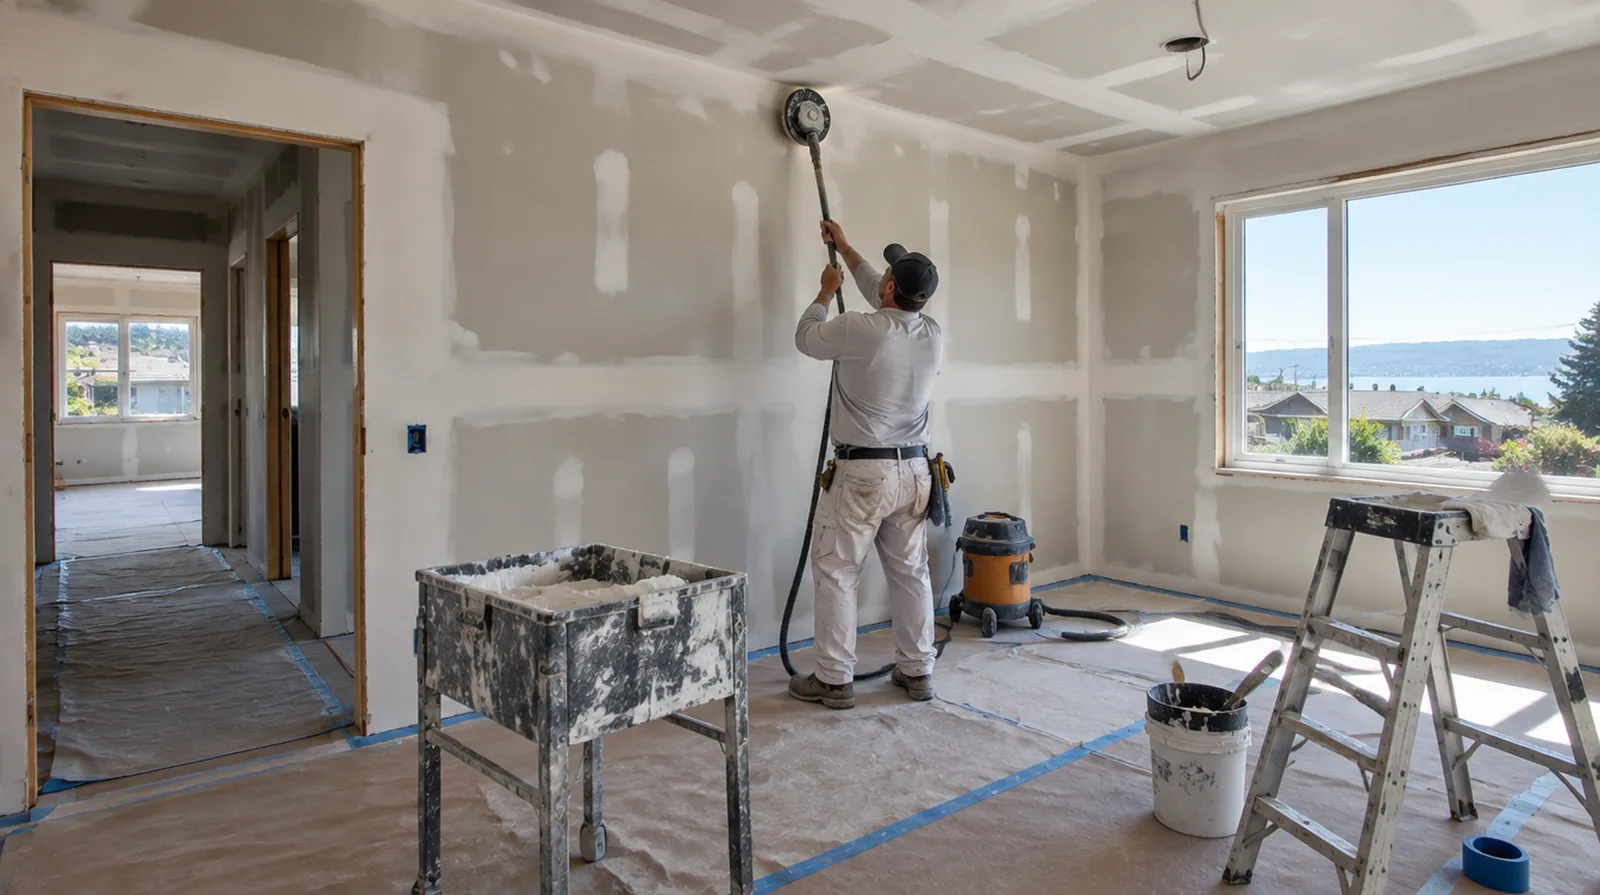
Allow genuine drying time
A firm outer skin does not always mean the material beneath it is ready for sanding. The drying interval changes with indoor humidity, temperature and the available movement of air. If there is a fixed move in date, reserve adequate time for the coating stages after drywall work instead of counting only the installation period.
Agree on the visual standard
Agree how the completed wall will be viewed and decorated before choosing the finishing standard. A written finish level gives the installer and painter a clearer shared target. At a surface receiving strong window light, review a dried trial from the side in addition to the normal straight view of the wall surface.
Coordinate with the painter
A primer coat sometimes makes small surface defects easier to identify than raw white compound. Establish responsibility for those final adjustments and any review after priming before the work starts. If scheduling is the main concern, separate hands on labor from drying intervals instead of treating every visit as a full day of active work.
Assess the hung board
Misaligned panels or unsupported joints need attention before the finishing layers can perform properly. Check how the sheets sit and how the fixings hold them instead of beginning with compound immediately. When the project space includes a doorway, check the clearance for panel movement as well as the amount of space available for finishing tools.
Use controlled sanding
Use sanding to refine minor imperfections rather than reshape an unnecessarily heavy joint. Dust management remains necessary even when only a limited number of seams are being finished. For a wall receiving a decorative covering, provide its preparation requirements early adequate for the drywall finish to support that product.
Keep external corners straight
A corner profile only produces a straight visible line when it is fitted and coated correctly. Dents or twists should be corrected before the finish locks them into the wall. At the handover inspection, review the finish from ordinary room positions using the lighting conditions that were agreed for the work.
Choose joint materials
Bedding coats and final coats serve distinct purposes and may use distinct compatible compounds. Choose compatible compounds with regard to their intended purpose, the room and the relevant product instructions. When a quote includes multiple visits, ask what happens during each stage and when the space needs to remain undisturbed between coats.
Consider a skim layer
Broad grazing light could reveal a difference in texture between the paper face and finished joints. Where the finish specification requires greater uniformity, consider an appropriate broad skim application. When a paint contractor follows the drywall work, define the surface condition being handed over and decide who handles any minor final touch ups.
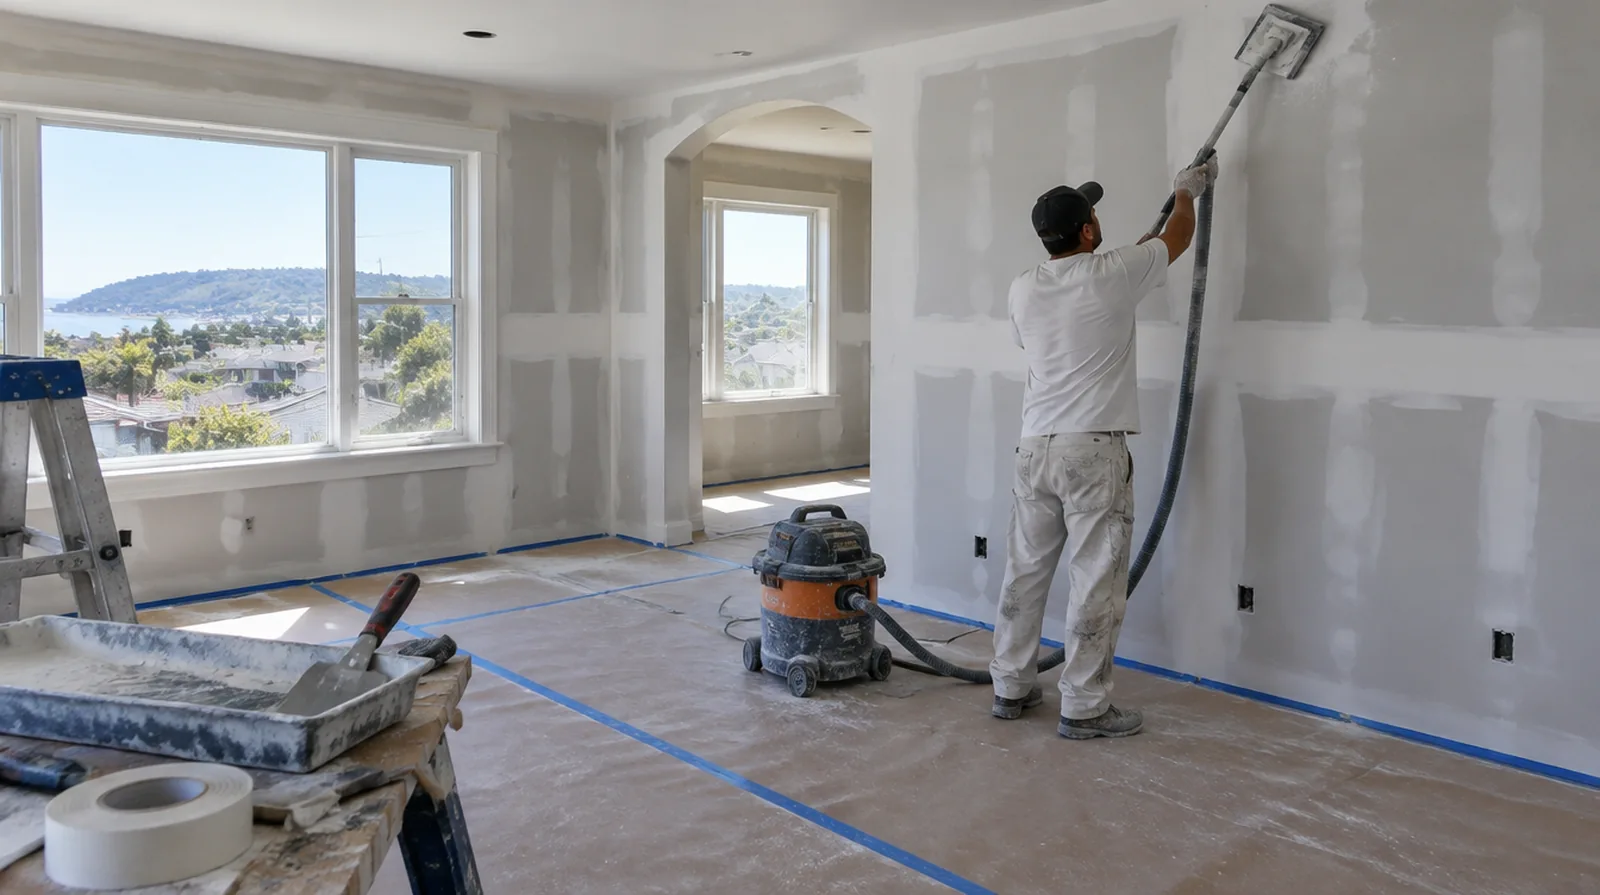
Build the seam gradually
Make later joint coats progressively broader so the transition becomes less abrupt. Square cut sheet ends need particular care because they do not offer the recess of tapered factory edges. When a wall has repeated defects, keep a record of earlier repair attempts so a new assessment does not simply repeat an unsuccessful approach.
Cover fastener heads
Fill fastener depressions level with the surrounding face without creating unneeded mounds. Adjust any projecting or paper breaking screw before applying material over the location. If the wall work belongs to a broader renovation, coordinate its order with flooring, cabinetry and trim instead of scheduling finishing in isolation.
Project context in Vallejo
Many Vallejo homes mix original lath and plaster with later drywall additions, so a repair often meets two very different wall surfaces. Bay air keeps some rooms cool and damp through winter, which slows compound drying more than people expect.
Scope questions before finishing
If the wall surface work belongs to a broader renovation, coordinate its order with flooring, cabinetry and trim instead of scheduling finishing in isolation.
If the space will remain occupied, identify a workable separation between the protected room and the space that still needs daily access.
For a limited patch requiring substantial setup, assess the complete package of access and protection instead of relating cost only to the opening size.
When a wall has repeated defects, keep a record of earlier repair attempts so a new assessment does not simply repeat an unsuccessful approach.
Where existing floors will remain, specify protective measures and review the path used by panels, equipment and finishing tools.
When the decorative coating has been selected, tell the finisher its intended sheen and color while the surface preparation standard is still being agreed.
Where a surface has been painted many times, consider whether differences in texture or sheen will require a wider decorative treatment.
If occupancy must resume on a certain day, include the later primer and paint stages in the timetable as well as drywall installation and finishing.
When damage followed other building work, describe the nearby alterations and the sequence between those changes and the first noticeable defect.
If the problem developed after another renovation, explain which nearby materials or building systems changed before the damage became visible.
At an edge beside built in furniture, state whether the obstruction will be removed or whether finishing stops at the section that can be reached.
When a paint contractor follows the drywall work, define the surface condition being handed over and decide who handles any minor final touch ups.
Explore the Vallejo drywall overview for related options, or read the project planning information before arranging the next stage.
More planning details for Vallejo
Check whether the patch area sits on plaster, board, or a transition between them before choosing materials. On sloped streets, plan where a truck can stop and how full sheets reach the front door without crossing a wet lawn. A living room wall facing the strait can get low raking light late in the day, which reveals ridges that look fine at noon.