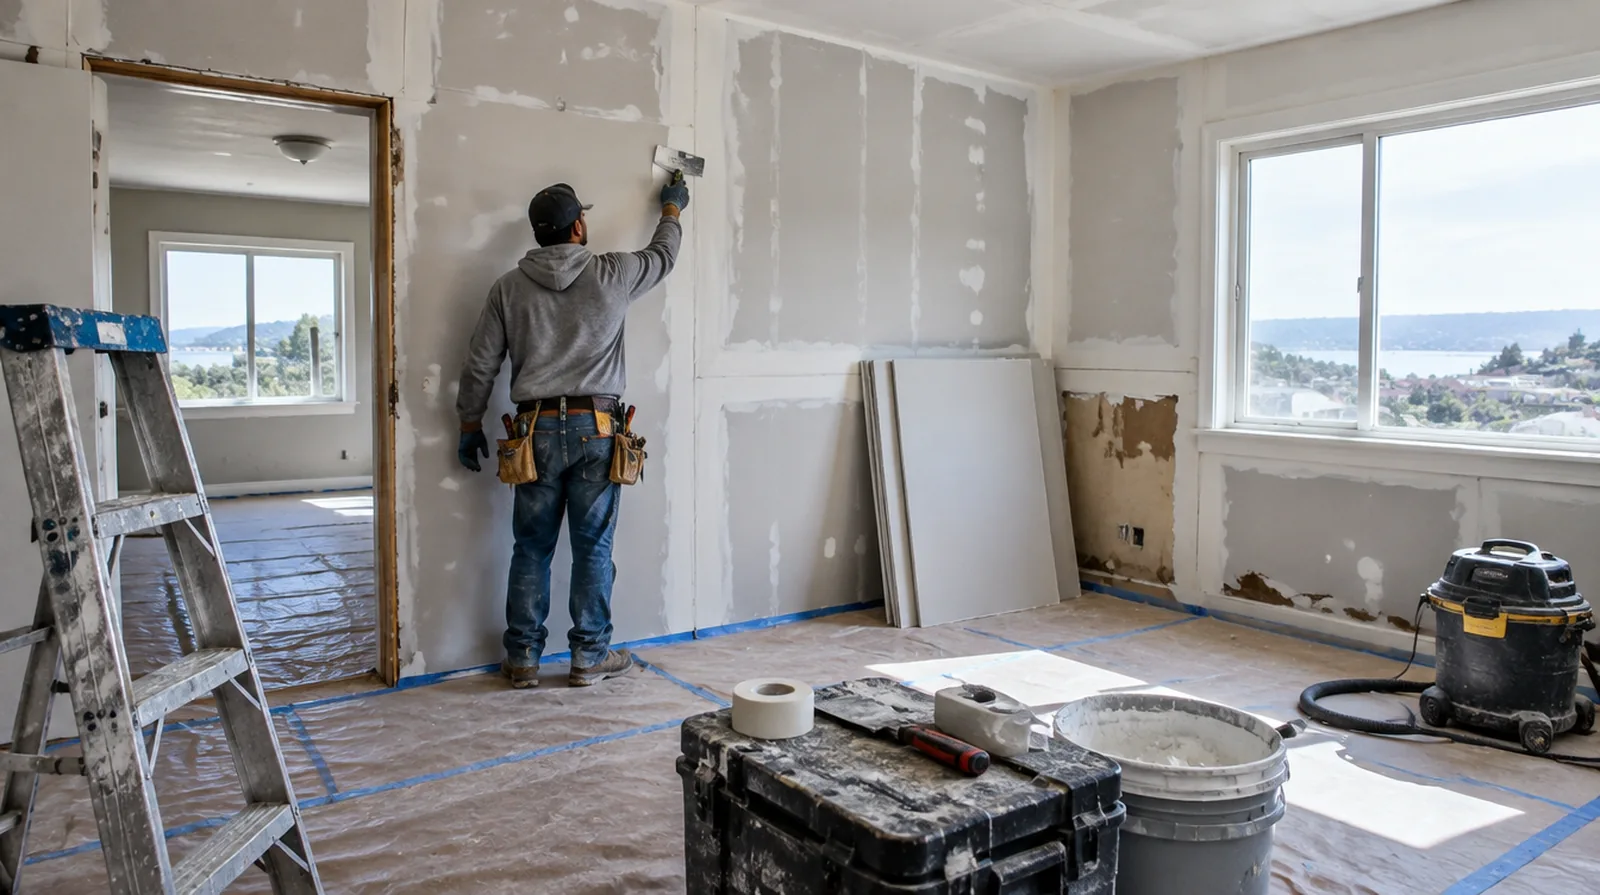
Resolve the water source
Replacement drywall should follow correction of the leak, condensation or other source that caused the damage. A cosmetic cover will not stop water from entering the same assembly again. When a wall has repeated defects, keep a record of earlier repair attempts so a new assessment does not simply repeat an unsuccessful approach.
Treat remaining discoloration
An old dry mark may bleed through new decoration unless an appropriate primer is selected. Verify that the stain is inactive before choosing a coating system for the repaired surface. When the same defect has returned, share information about previous repair methods so the next assessment can consider why they did not last.
Define selective removal
Removing a controlled section provides access for assessment while preserving material that remains sound. Choose its edge to allow supported replacement and a surface transition that can be blended effectively. While a removed panel exposes the wall cavity, complete the necessary review of concealed work before replacement board closes the opening.
Keep contamination separate
Suspected microbial contamination or exposure to flood water is outside a routine cosmetic patch assessment. Ask an appropriate remediation professional about containment and material handling before drywall work is scheduled. For a planned new wall mounted fixture, resolve its backing requirements while the cavity remains open instead of cutting into completed drywall later.
Rebuild supported edges
New panel pieces need secure fastening to sound framing or appropriate backing. Stable edges reduce avoidable stress at the boundary between the retained face and the replacement. For a project involving a building manager, confirm access hours and protection requirements before promising a start date or a short completion window.
Match the board assembly
Use replacement panels consistent with the original thickness and the assembly that must be restored. Water resistant products do not remove the need to correct the conditions that caused the damage. While a removed panel exposes the wall cavity, complete the necessary review of concealed work before replacement board closes the opening.
Record the completed scope
Retain useful information about source repairs, material replacement and any drying checks performed by other trades. That documentation distinguishes the completed drywall scope from continuing upkeep and responsibilities elsewhere in the property. When damage followed other building work, describe the nearby alterations and the sequence between those changes and the first visible defect.
Assess material condition
Look for changes in panel strength and face condition as well as the visible color of a mark. The affected material behind the finish may extend past the stain seen from inside the interior. When comparing competing estimates, make sure their protection, surface finish and disposal allowances describe equivalent work before comparing the final prices.
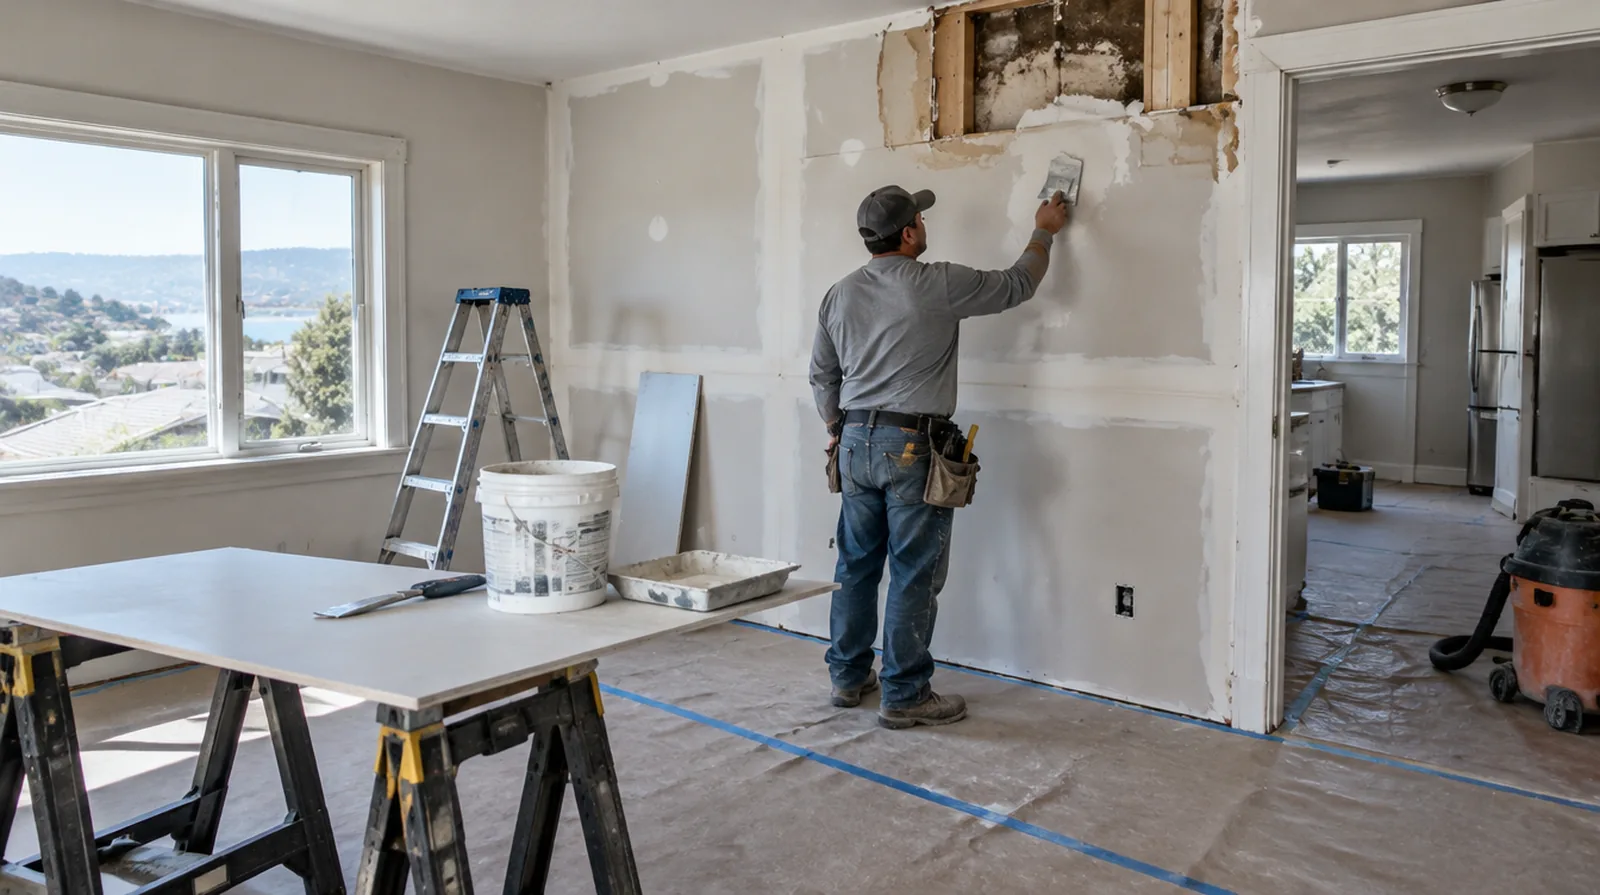
Verify drying readiness
A surface that feels dry can still conceal moisture in insulation or framing. Make clear which professional confirms drying readiness before the cavity is covered again. If the proposal requires return visits, identify the purpose of each stage and the intervals during which finishing material needs to remain undisturbed.
Finish after moisture control
Tape and finishing compound belong on stable dry material instead of a damp or deteriorating substrate. Give each finishing layer time to dry rather than trapping dampness under additional material. When the wall surface has strong reflected light, look at the full plane rather than judging only the narrow strip immediately beside the patch.
Project context in Vallejo
Older homes may also hide cloth-covered wiring behind walls, which should be looked at by an electrician before a cavity is closed. Ask whether the finish will be judged in that light.
Scope questions before finishing
If occupancy must resume on a certain day, include the later primer and paint stages in the timetable as well as drywall installation and finishing.
Where the wall meets fixed furniture, clarify whether removal is included or whether the finish will terminate at the accessible edge.
For a wall receiving a decorative covering, provide its preparation requirements early adequate for the drywall finish to support that product.
If a separate painter completes decoration, agree the condition of the handed over surface and assign responsibility for small final corrections.
Where existing floors will remain, specify protective measures and review the path used by panels, equipment and finishing tools.
When the same defect has returned, share information about previous repair methods so the next assessment can consider why they did not last.
If the ceiling or wall includes fittings, identify the person responsible for removing and reinstalling each item before the work begins.
For work spread across different planes, record their dimensions separately and describe the boundary of the treatment on each surface.
Where occupants have dust sensitivity concerns, agree containment and cleaning measures before settling the way the room will be staged.
Where several contractors share the renovation, identify the inspection and handover milestones that determine when each following stage can proceed.
If the current finish is unusual, keep a small reference sample or a close photograph to support the discussion about blending and restoration.
When photographs are used for an initial discussion, include a wide room view as well as a close view so scale and surrounding finishes are understandable.
Explore the Vallejo drywall overview for related options, or read the project planning information before arranging the next stage.
More planning details for Vallejo
Many Vallejo homes mix original lath and plaster with later drywall additions, so a repair often meets two very different wall surfaces. Check whether the patch area sits on plaster, board, or a transition between them before choosing materials. Bay air keeps some rooms cool and damp through winter, which slows compound drying more than people expect.